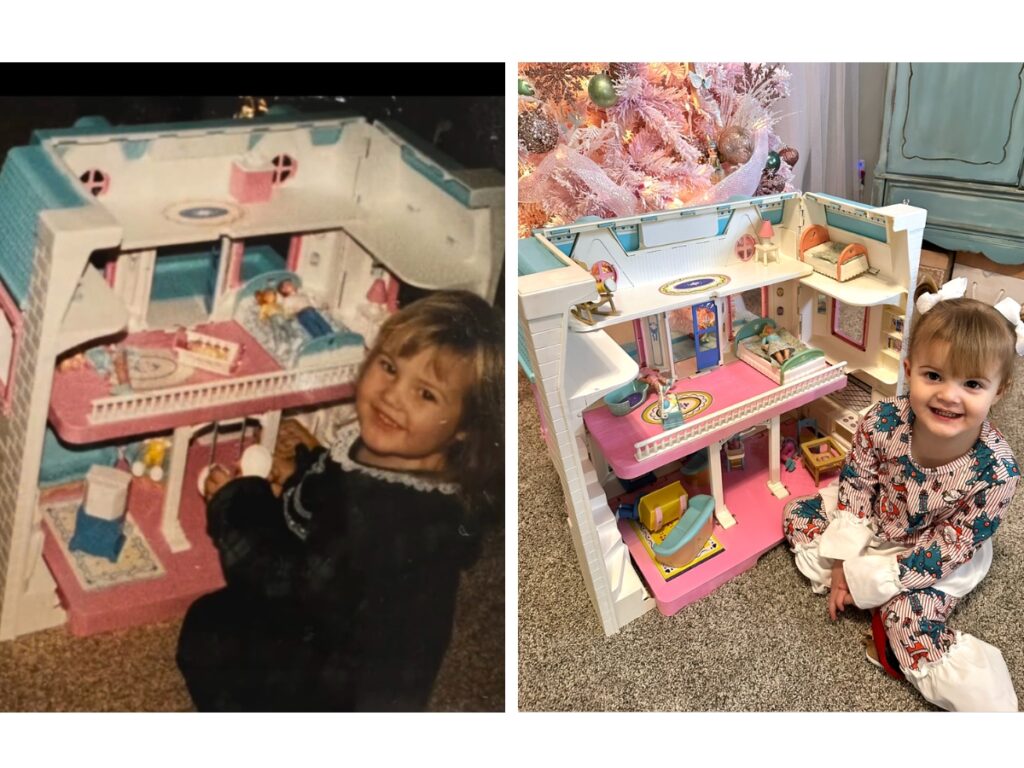
Renovating my most treasured childhood toy—the 1993 Loving Family Dream Folding Dollhouse—for my daughter has been one of my favorite DIY projects. My parents gave me this dollhouse when I was about two years old, and it quickly became one of my most cherished possessions throughout my childhood.
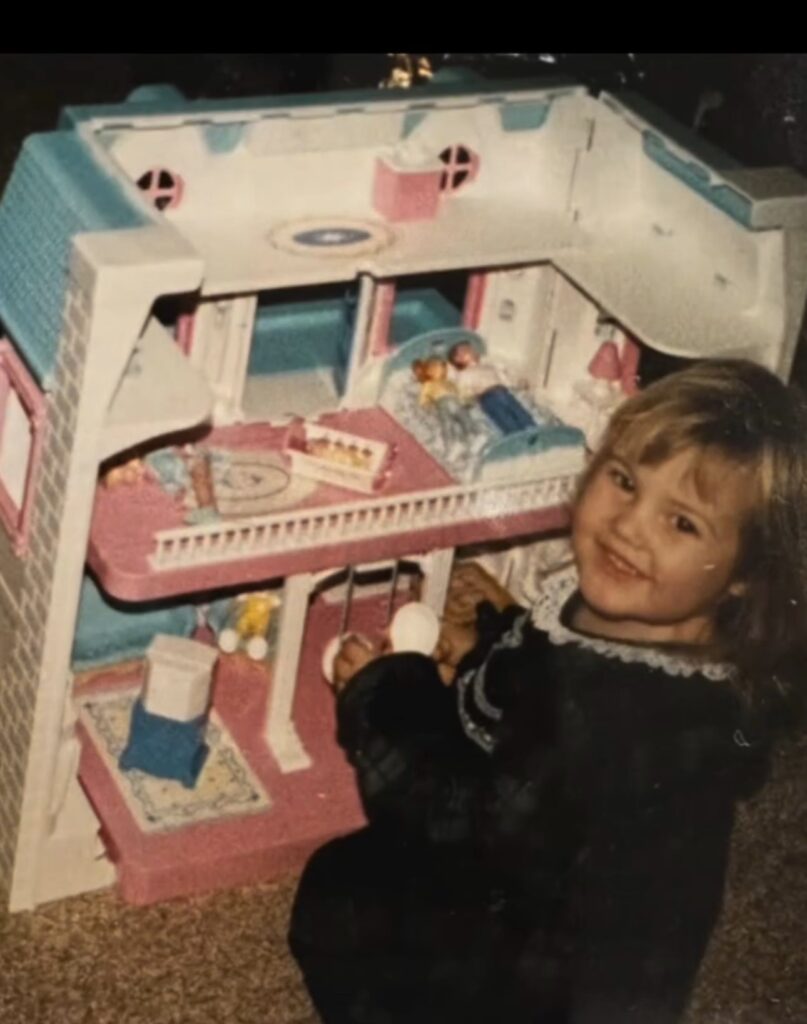
The dollhouse followed me to every move, every bedroom, every change, but the emotions stayed the same. When I graduated and moved on to my adult life, the dollhouse was stored in an outdoor shed, and the Midwest weather took a toll on its condition. I always knew it was there, though, hoping it would shine again.
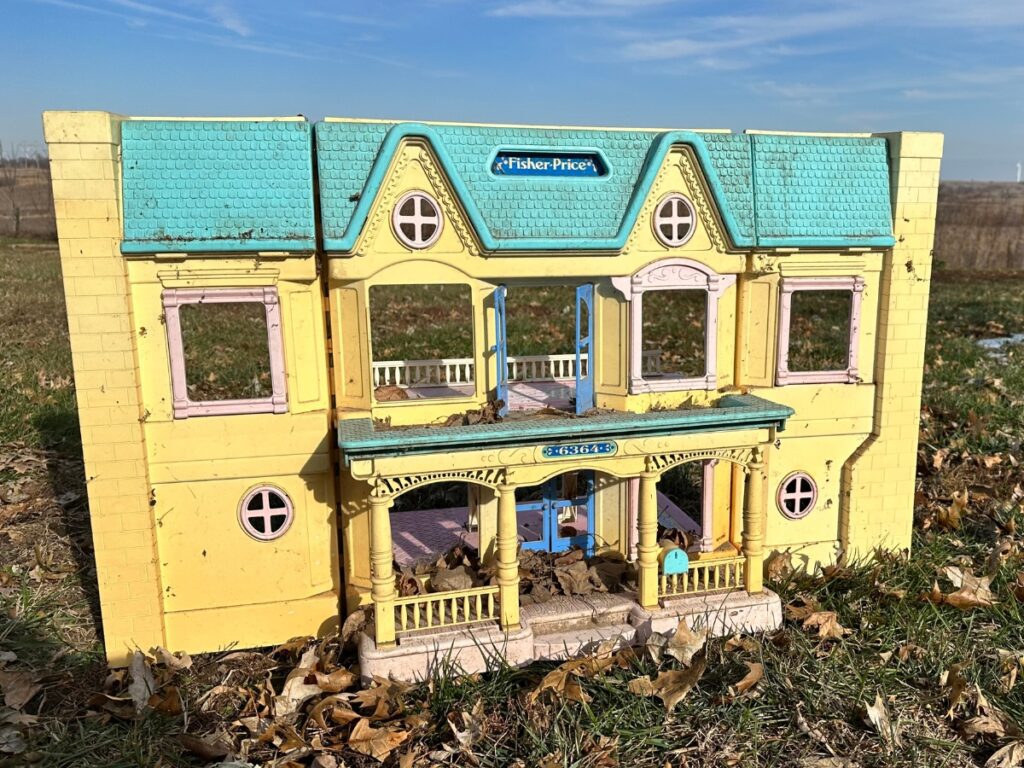
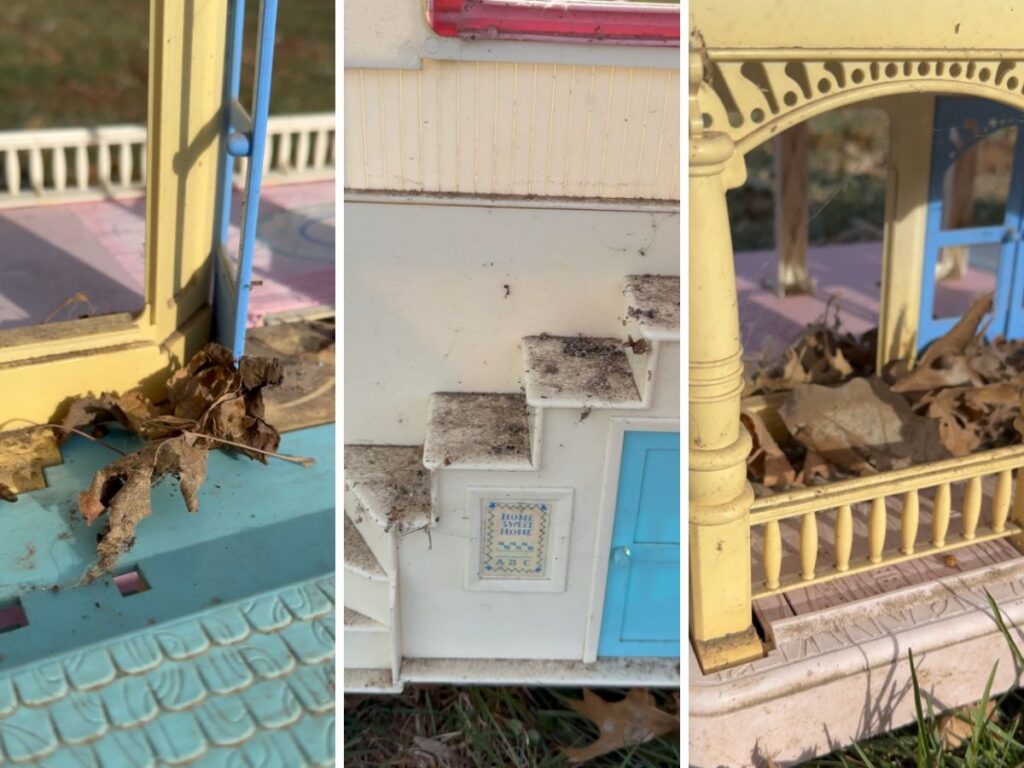
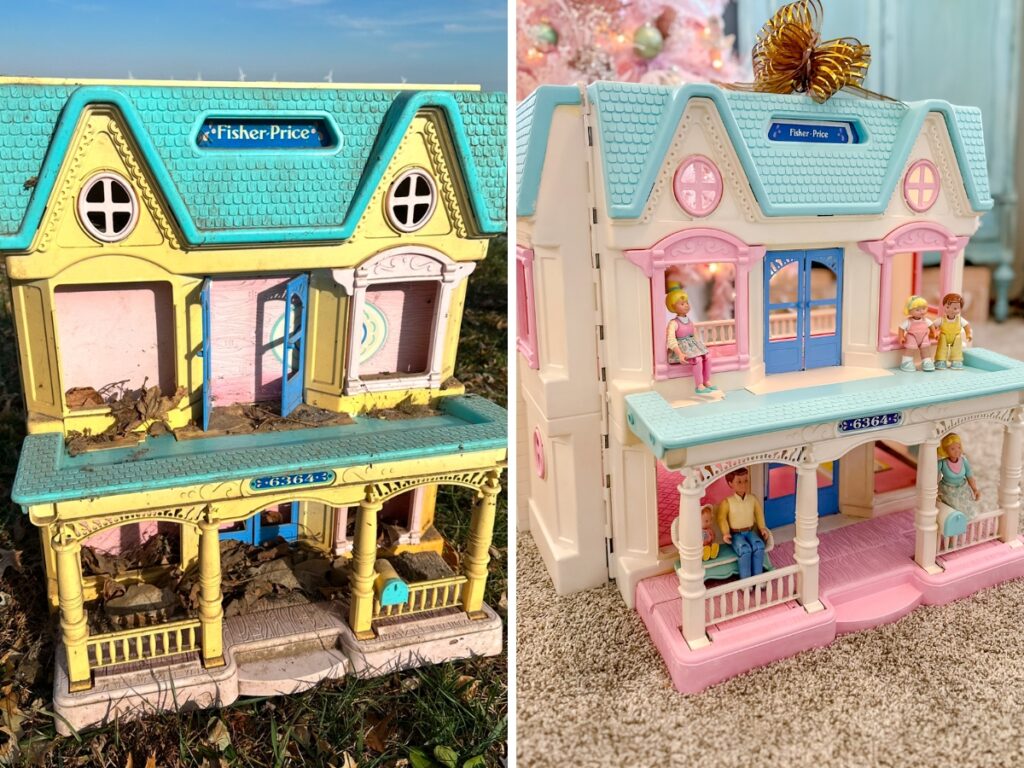
I had tried to fix it up about two years earlier, but when I saw the state it was in, I gave up pretty quickly. Then, when my daughter turned two, I decided to try again. So I went back to the shed to retreive it. I’m so glad I did. There were leaves, bugs, dust—basically, everything you’d expect (and hope not to see). But the dollhouse itself was still in decent shape, which was a small win.
Cleaning the Dollhouse
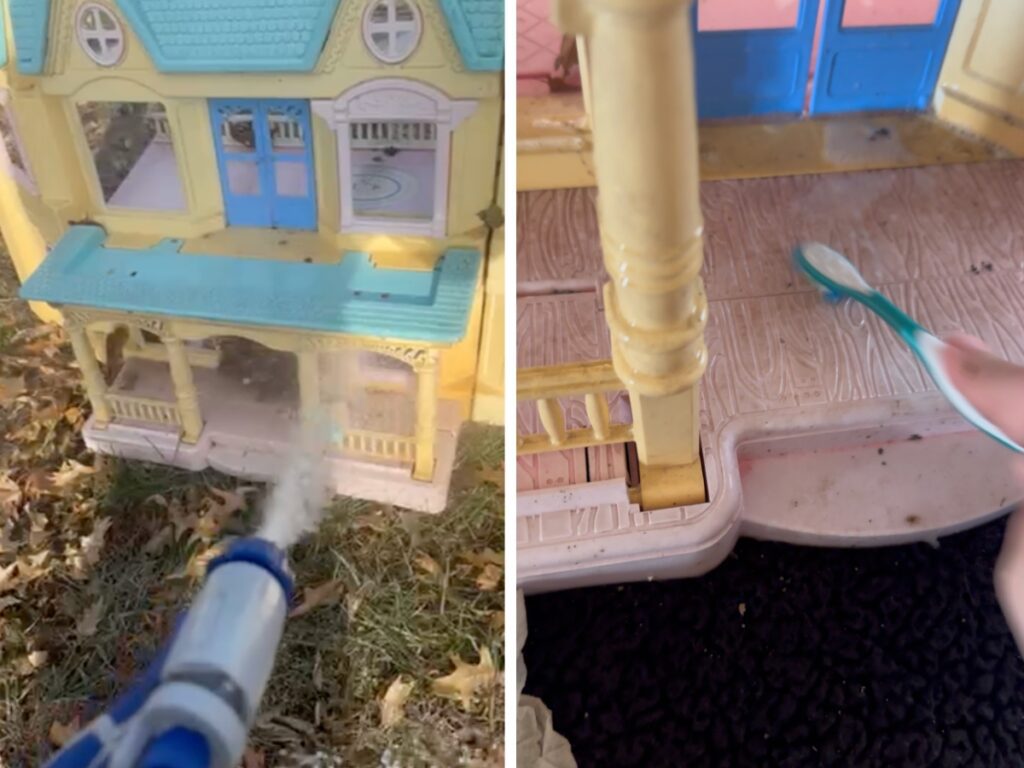
Cleaning the dollhouse was no small task. I started by hosing it down outside, then moved it to the bathtub for a deep clean. Using Dawn dish soap, baking soda, and a toothbrush, I scrubbed every inch of it. A lot of the original stickers came off in the process, but I lucked out and found a nearly identical set on eBay to replace them.
Painting the Dollhouse
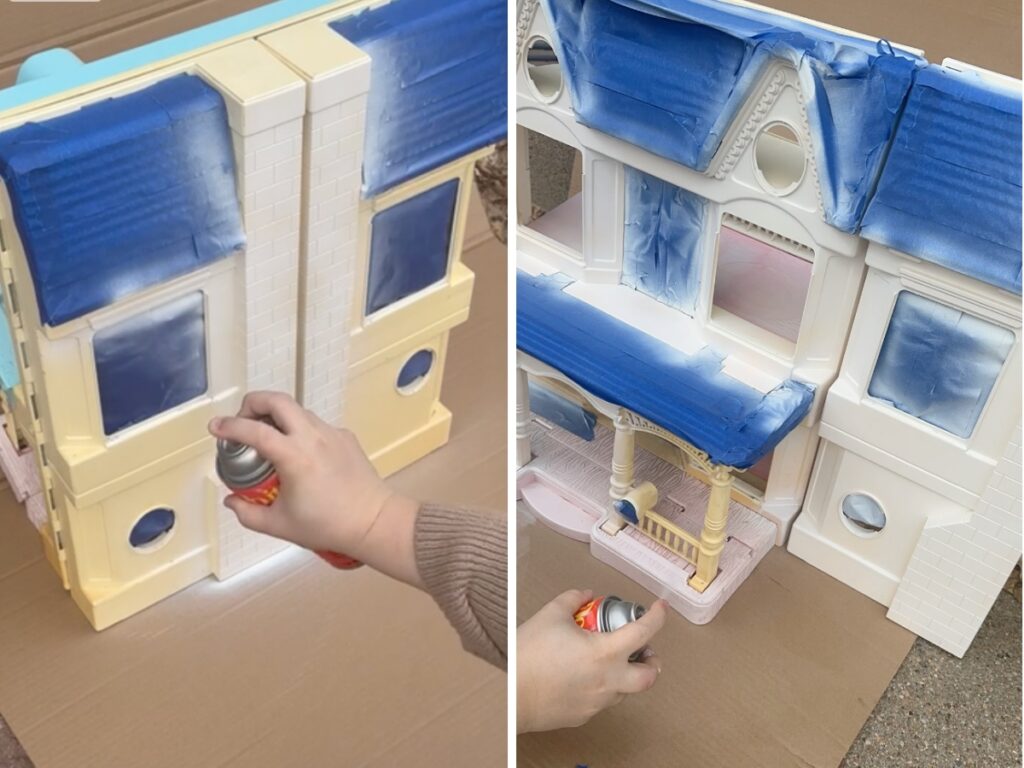
After giving it a good cleaning, I noticed that I would need to paint the white and the pink. The blue stayed in pretty good condition. I used spray paint for the white after removing the windows and taping it off. I used a local store brand, but if you do it yourself, look for a non-toxic brand.
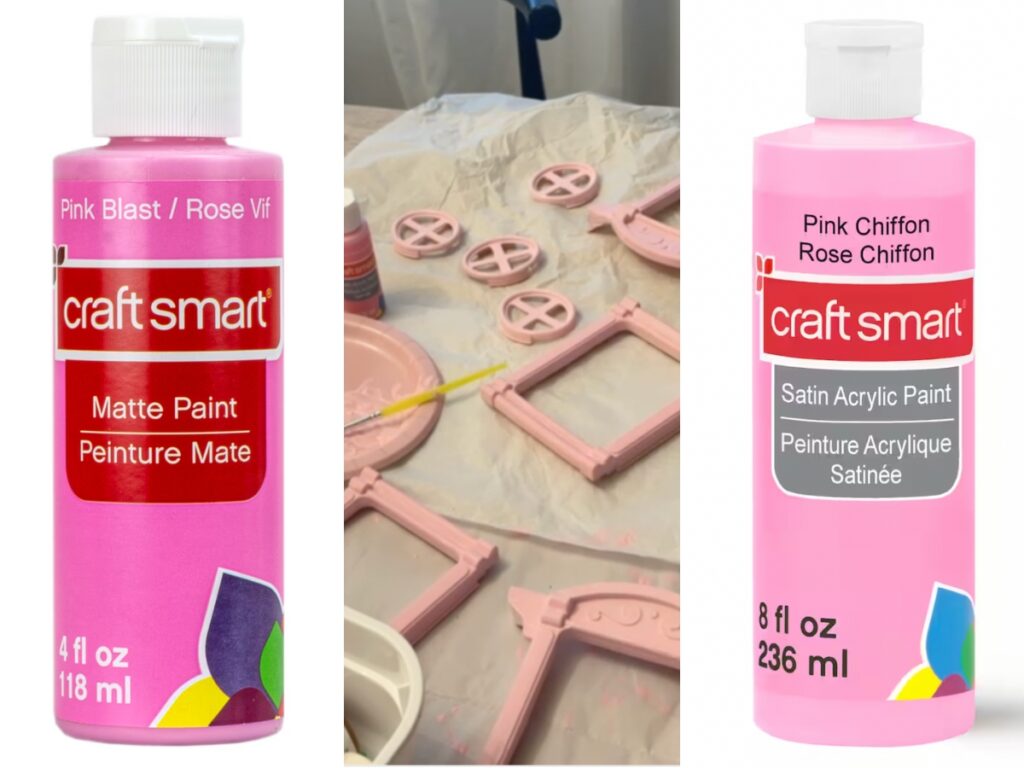
To get the pink color, I mixed Pink Chiffon Craft Smart paint and Pink Blast Craft Smart paint. You can find this at Michael’s Craft Stores. I took all of the windows off and handpainted them. Below is a picture of what they looked like before painting. I used a dabbing brush as well as small craft paintbrushes.
Replacement Stickers
Because I had to extensively clean it, most of the stickers needed to be replaced. I found an amazing seller on eBay who worked to recreate the stickers. Although they are not exactly the same as the original stickers, they looked great once I got everything into place.

Replacement Pieces and People
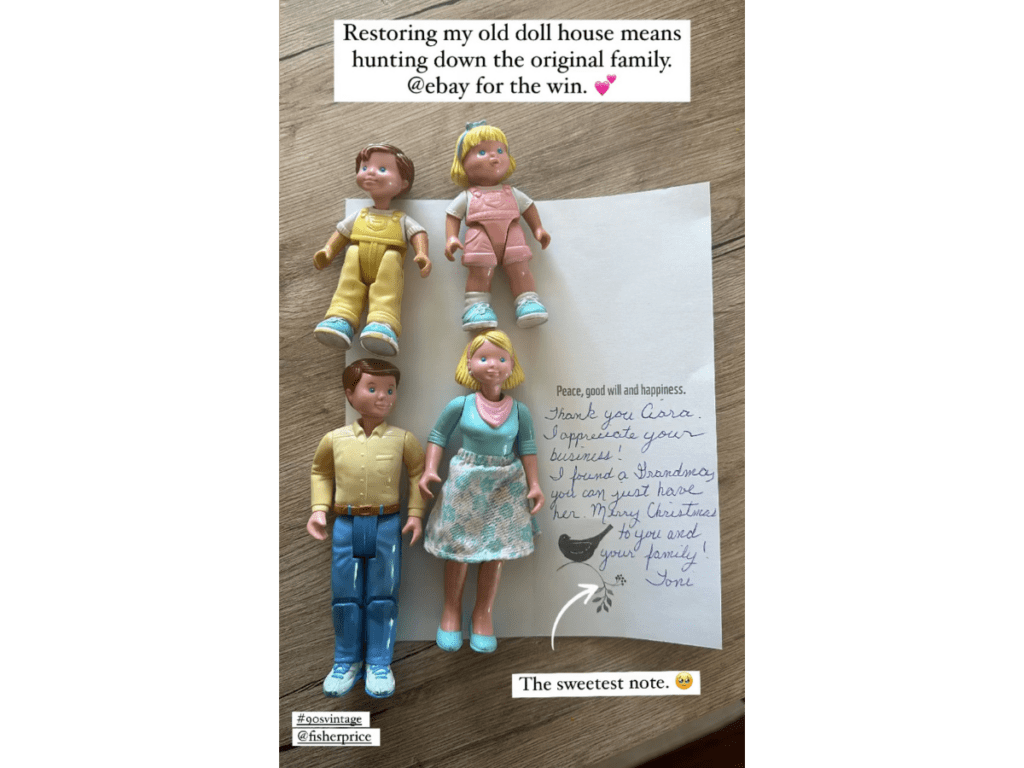
I had kept a few of the furniture pieces and dolls from the dollhouse, but some were missing. So, I went on a mission, scouring eBay and Facebook groups to track down the pieces I remembered. I was able to replace a few dolls and furniture items, and one of the sellers even included a handwritten note with my purchase. That little touch made the whole experience feel extra special!
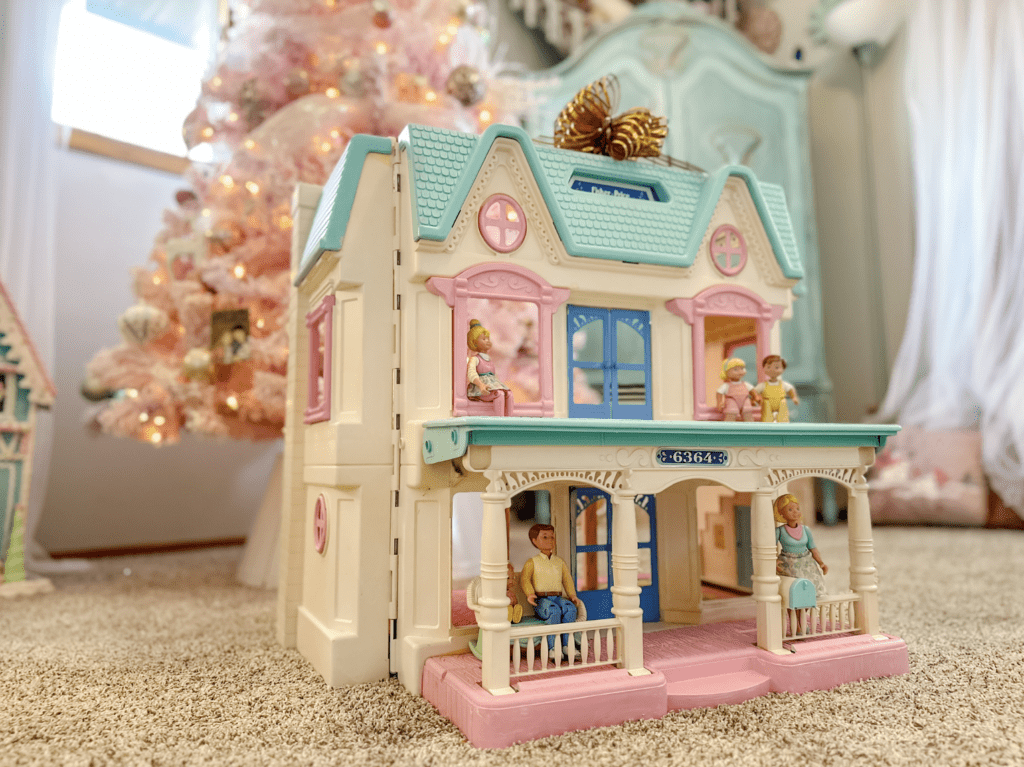
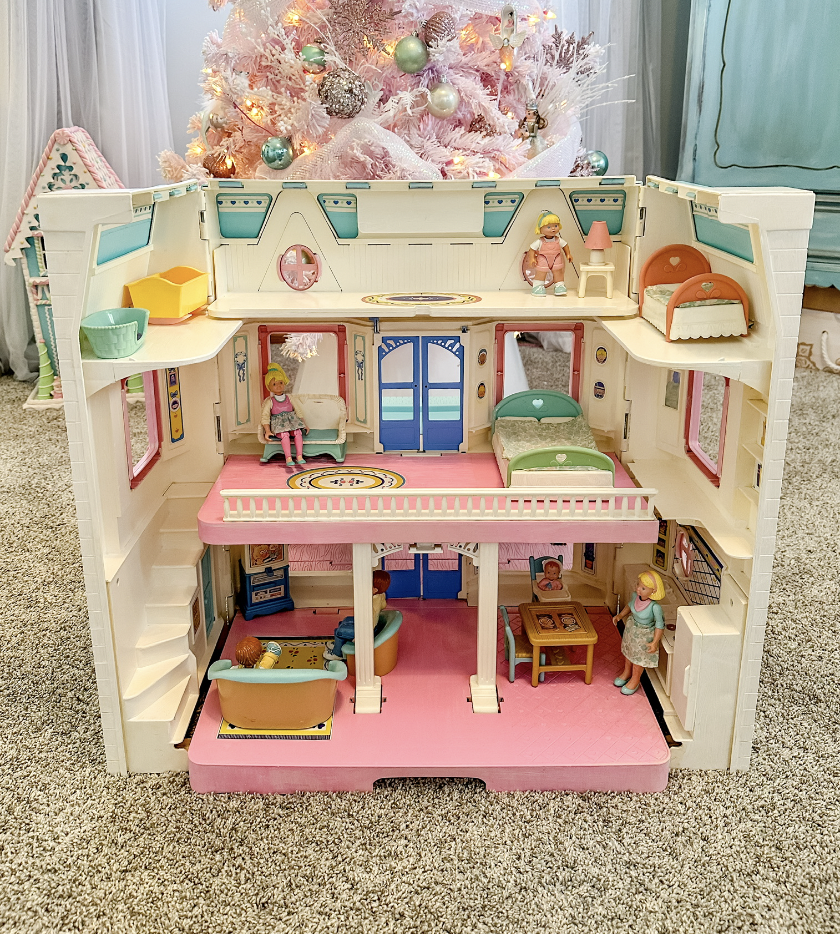
The Finished Dollhouse
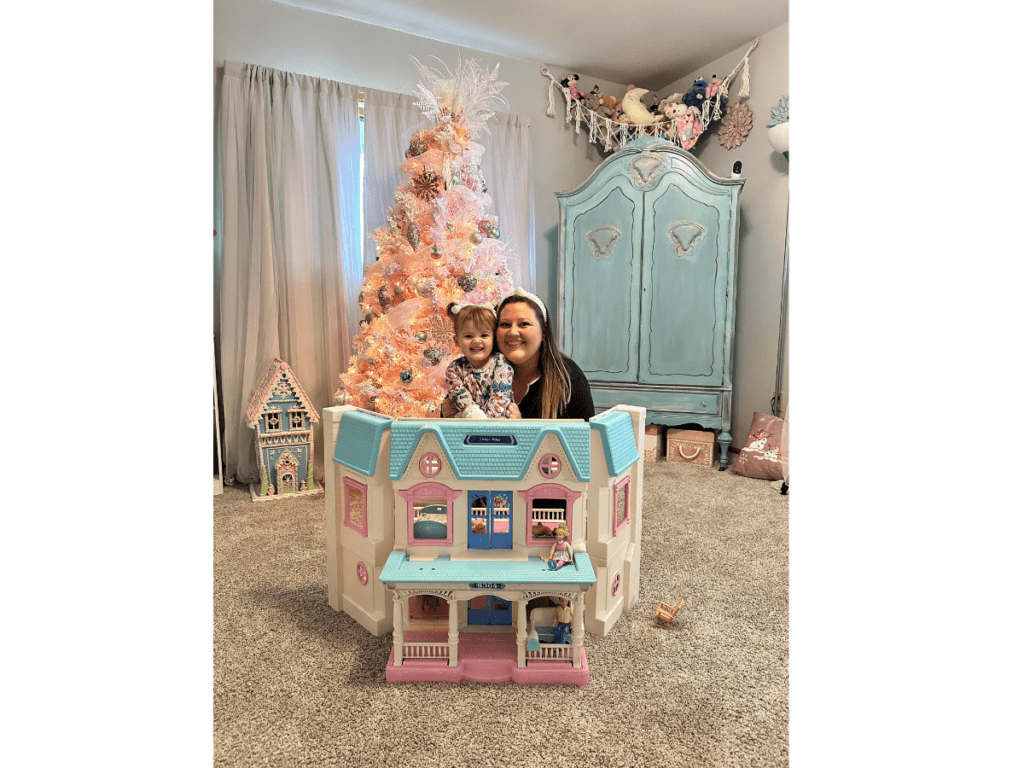
Finally, it was time for my favorite part – setting it up! I placed the people outside and all of the furniture inside. Words can’t explain the nostalgia that this moment brought to me, but what was even better was the moment I saw my daughter’s expression.
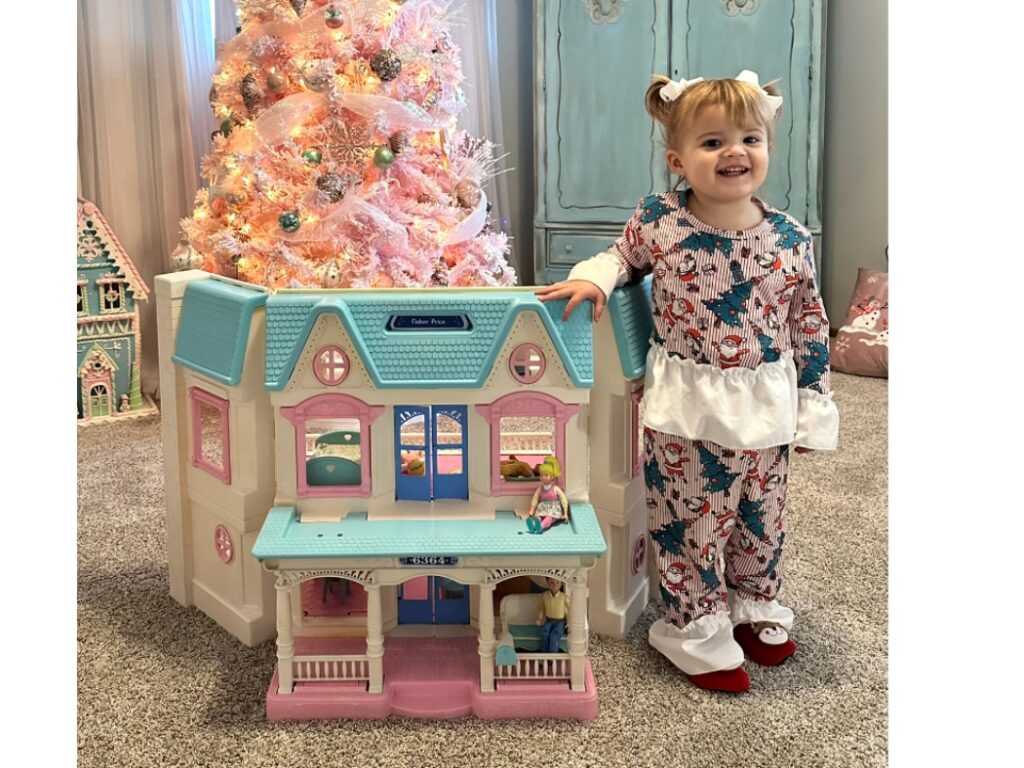
My Daughter’s Reaction
After we opened our gifts on Christmas morning, I had my daughter come into her bedroom to see the dollhouse. I explained to her that it used to be Mommy’s and it was my favorite gift. She was so excited! It is a memory I will never forget.

Why I’m Sharing This Story
This story isn’t really about a dollhouse—it’s about finding joy in the little things that make us human. Life will always throw curveballs, and things won’t always go as planned, like the first time I tried to renovate this piece. But how we respond to those moments is what shapes our story. No matter what you’re facing, there’s always a glimmer of hope if you look for it. Find the magic in the every day—it’s there, and it’s so worth it!
If you liked this post about me renovating my most treasured childhood toy—the 1993 Loving Family Dream Folding Dollhouse, be sure to check out more of my DIY projects.
Videos You Might Like

Like this post? Be sure to share!


Leave a Reply