
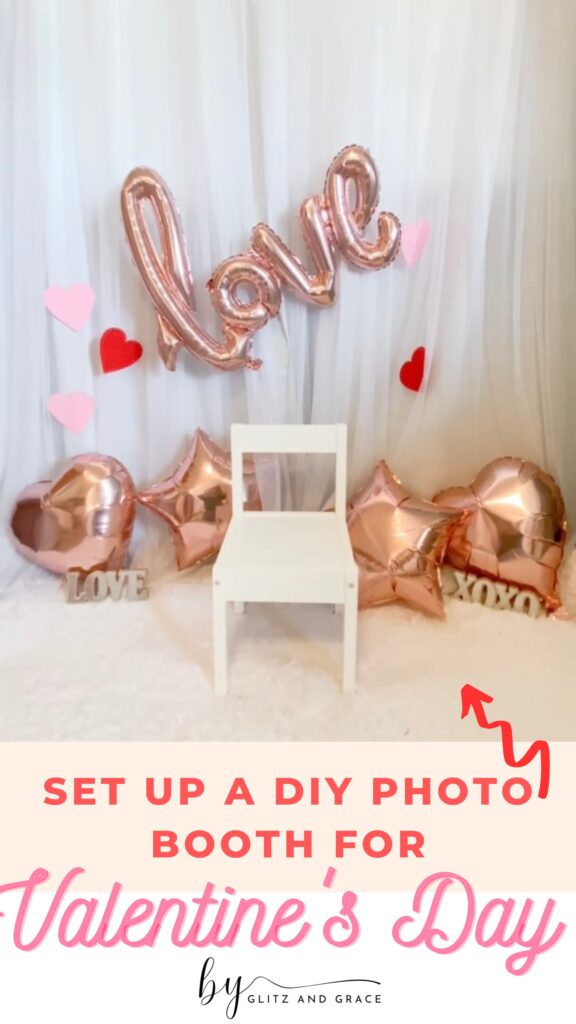
A DIY Valentine’s Day Photo Booth is an easy and affordable idea for fun holiday pictures. Holidays are the perfect time to create lasting memories with your loved ones, and what better way to do that than with a DIY photo booth? In this post, I’ll show you how to set up an easy DIY photo booth for your child to take pictures during Valentine’s Day using just a few simple materials.
Find a Spot in the House with Good Lighting
First, start by finding a spot in your home with good lighting. This can be near a window or using a lamp to create a well-lit area. Once you’ve found your spot, hang a curtain or blanket as your backdrop. You can use a solid color or a patterned curtain, depending on the look you want to achieve. I just used my daughter’s bedroom curtains.
Gather Inexpensive Decorations Such as Balloons and Small Props
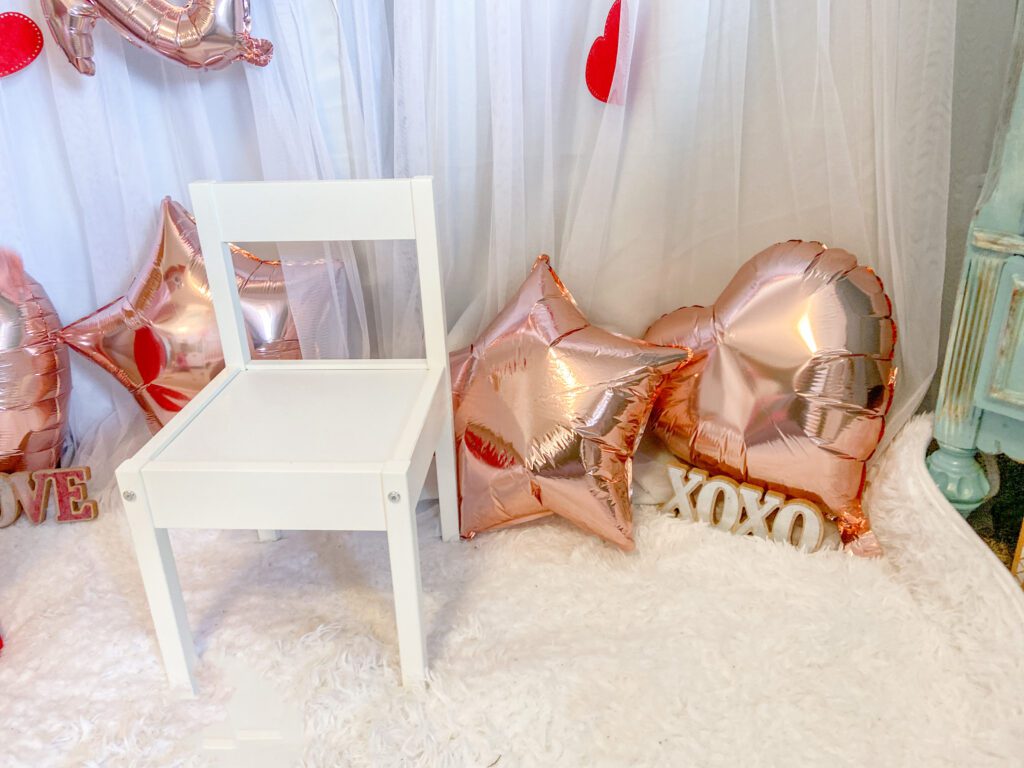
Next, blow up some balloons and scatter them around the photo booth area. Balloons are an easy and inexpensive way to add some festive decoration to your photo booth.
Below are the balloons I purchased for this photoshoot. Amazon has so many inexpensive options!

Find a Cute Holiday Themed Outfit
Now, have your child pick out a cute outfit to wear for the photo shoot. It can be something they already have in their closet or a fun outfit you pick up from a thrift store. I chose this Hey Sugar shirt and a pair of pants that came with a Christmas set.

Set Up Your Photo Booth Area Using Your Props
Lastly, gather some props from around the house! You can use things like hats, scarves, glasses, or anything else that you think would add some personality to the photos. Use your creativity and imagination! I had some cute little props from Dollar Tree that I used, as well as a chair from my daughter’s activity table, and some sunglasses we already had.


Use Portrait Mode on Your Phone and Edit with Lightroom
For the photos, you don’t need to have an expensive camera. You can use your phone camera and a free editing app like Lightroom. This app allows you to adjust the brightness, contrast, and saturation of your photos to make them look more professional. Here is an example of a before and after edit I did using Lightroom.
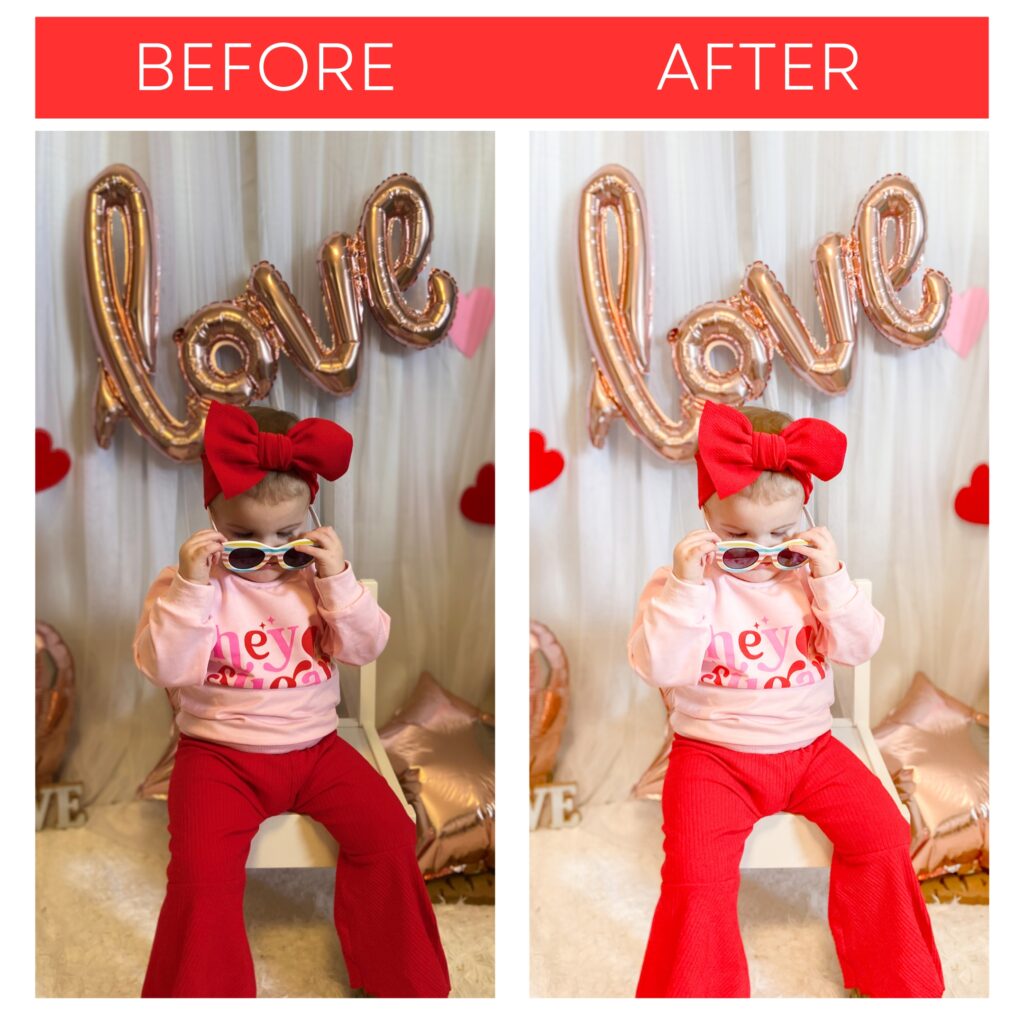
I do recommend taking the pictures in Portrait mode with Studio Lighting turned on. I only have an iPhone 11, so I am sure that the latest phones have even better settings!
Lastly, Have Fun!
Great memories were created in less than 25 minutes with my daughter using the DIY Photo Booth, and I’ll cherish them forever.


With these simple materials, you can set up a fun and festive DIY photo booth that your child will love. Not only will you create lasting memories, but you’ll also have some great photos to share with family and friends. Happy Valentine’s Day!


Leave a Reply